Light Bulb Vase { Step-by-Step }
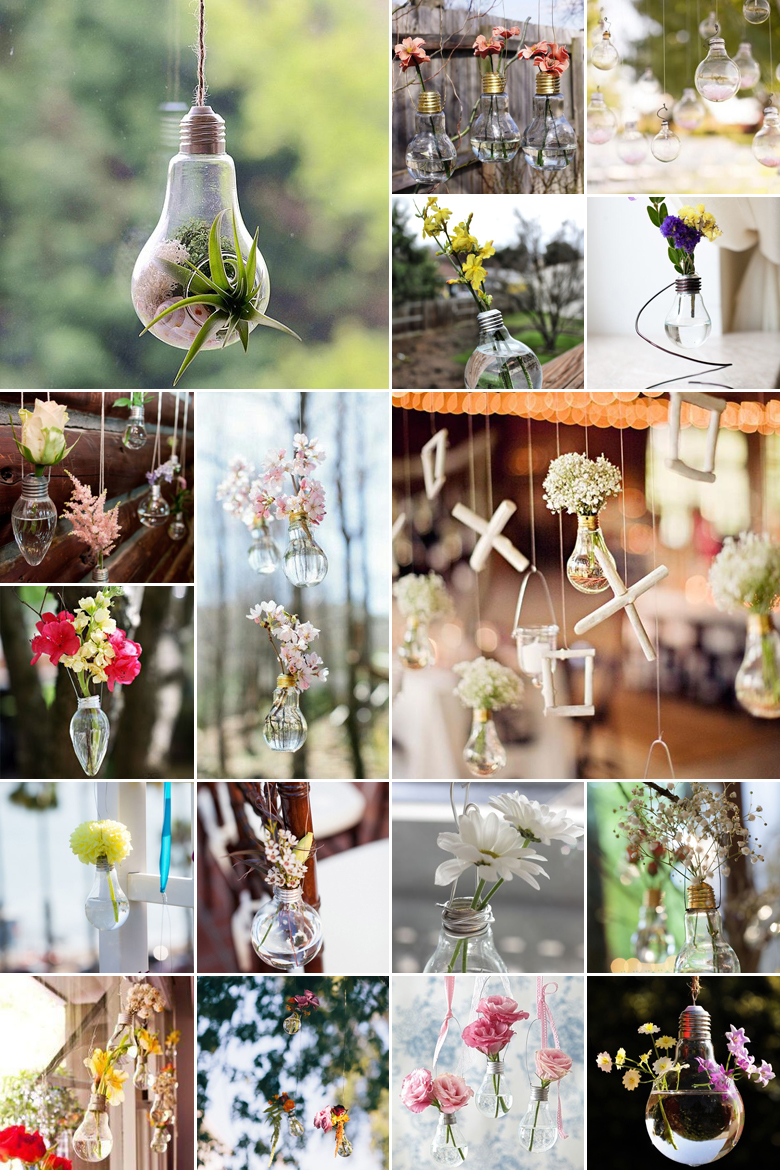
You've probably seen it on Pinterest and, like most brides, fallen in love with the idea of a recycled bulb vase! Well, you’re about to get your hands dirty because today we’re making it ourselves:
What you'll need is:
- An old light bulb
- Slim pliers - also known as “needle nose pliers”
- A thick nail or metal dowel that you can hammer on
- A sturdy hammer
- Very fine sandpaper
Let's get started:
- Place the end of the nail or sharpened metal dowel at the base of the light bulb, on the silver section.
- Use the hammer to gently tap away until you manage to break the black part of the bulb. Remember – this needs to be done carefully to avoid breaking the bulb itself.
- Once you've managed to break through, use your pliers to strip away the small silver layer.
- You'll notice that there is a layer of glass underneath the silver layer. Using the same method as in point one, gently tap this section of glass until it breaks.
- Use your pliers to snap off sharp ends of the glass until your little vase's “mouth” is clear.
- Now it's time to remove the “innards”, once again using your needle nose pliers. Once you've clipped the wires, shake out any loose glass and pieces.
- You should now have a glass orb that looks very much like a bulb vase ready for decorating. However, to avoid cutting yourself on the glass, use the fine sandpaper to gently smoothen the rough edges.
Original images and their credits available on Pinterest