DIY Candles
Making your own candles for your wedding will save you money, but will also ensure that your romantic lighting is even more special to you, as you know the fun and effort that went into it. In addition, you can personalise them for your special day, making them truly unique.
You will need:
- Wax (if you know someone with a restaurant, ask them for all of their candle stubs. Otherwise, buy a block of wax from a craft store. Quantity depends on your requirements).
- Wicks
- Coloured crayons to dye the wax (it would be wise to get it as close to your theme colour(s) as possible)
- Vanilla extract or any other scent, if you wish your candles to be scented
- A double boiler (or two pots that fit together for the same effect)
- A knife
- Soda cans with the tops cut off (these will be your moulds)
- A mixing spoon (preferably one that can be discarded after use)
Method:
- Soften your wax by leaving it on a piece of newspaper in the sun.
- Turn your double boiler on, or place boiling water in the bottom pot and rest the top pot on it, keeping the stove beneath it hot.
- Place plenty of newspaper onto your workspace – this is a messy job!
- Cut your block of wax into chunks and melt each block in the top pot separately.
- While the wax is melting, add a little coloured wax crayon to the mixture. The colour goes a long way, so only use small pieces until it looks right. At this point, you should also add the scent.
- Cut a length of wick (2 or 3cm longer than the candle will be), dip it into the melted wax and lay it out on the newspaper or wax paper so it can harden in a relatively straight form. To accelerate the process, put the wicks into the fridge to harden.
- Once melted and the colour stirred in thoroughly, pour the wax into your moulds. Put these into the fridge.
- When the top of the candle looks set, but the rest of the contents beneath is still liquid, poke a hole into the centre with a toothpick and insert the hardened wick until it touches the bottom of the mould.
- Place the moulds back in the fridge until the candles are completely hard and set.
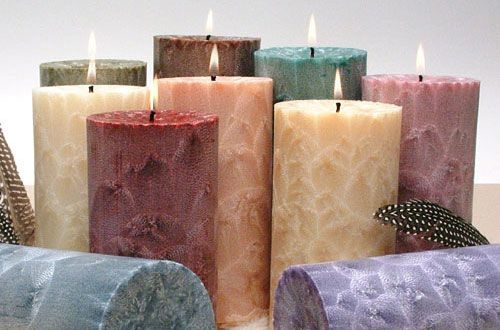
- Gently peel the mould off to reveal your coloured, scented wedding candles.
Image Credit: Lizzie Candle