DIY Glitter Vase { Chic + Lovely }
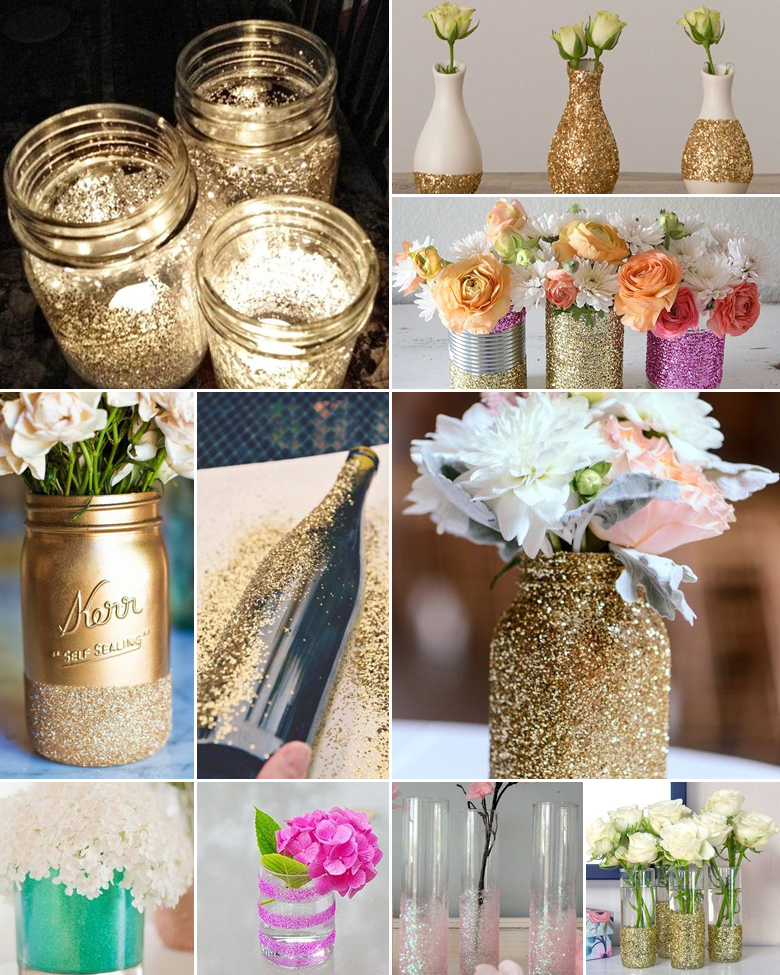
This season we’ve fallen in love with glitter all over again. From sparkly sequins and dazzling glitter dust – we just can’t get enough! If you’re equally as obsessed, give today’s DIY project a shot and make your very own glitter vases for the guest tables:
You will need:
- A vase or bottle of your choosing
- Spray glue or spreadable glue or podge
- Masking tape
- A paintbrush (and an optional extra one to spread on the glue)
- Glitter in a colour of your choice
To get started:
- Prepare your workspace for the looming glitter mess by covering everything in newspaper, or find a large tray in which you can work.
- Grab your masking tape and apply a strip to the top and bottom part of your vase, leaving the section that you’d like to glitter open in the middle between the two strips.
- Now apply your glue in a thin layer – whether you brush on spreadable glue with your paintbrush or spray it on with the glue canister.
- Sprinkle the glitter over your glue-covered surface. Alternatively, if the vase has a flat side, roll it in the glitter.
- Using a clean paintbrush, dust off any excess glitter and place the vase aside to dry.
- Once the glue is completely dry, strip off the masking tape and get started on vase number 2!
Original images and their credits available on Pinterest