Petite Pie Boxes { DIY Favours }
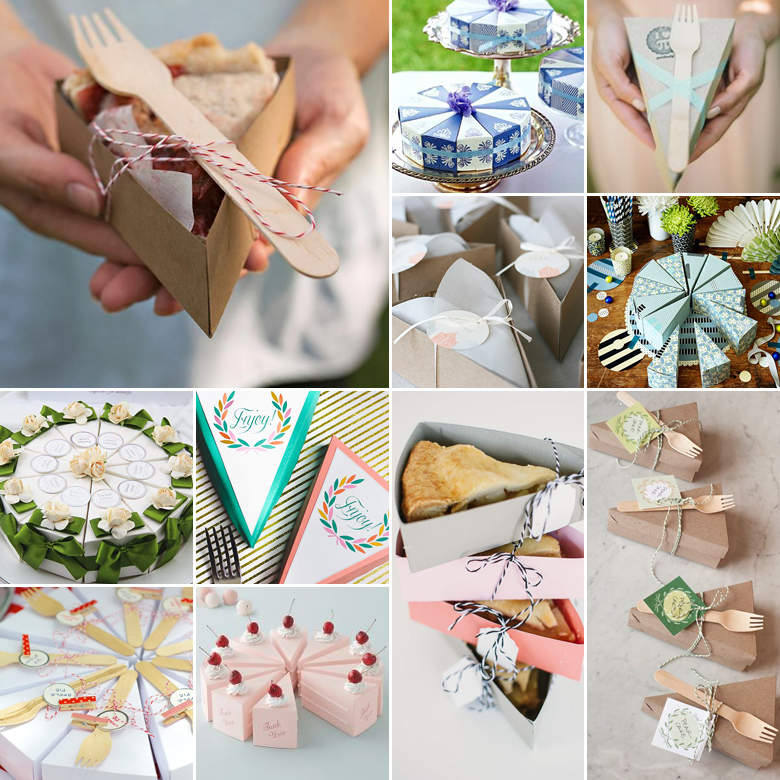
Cupcakes are one thing, but individually boxed cake slices? Now that’s something your guests definitely haven’t seen before! Make your own pie boxes using the steps below, and send your special people home with a cute cake takeaway:
What you’ll need:
- Printed box template – see the image below and resize to fit your requirements
- Cardboard paper in a colour and texture of your choice
- Scissors
- A bone paper folder
- Hot glue gun
- Tissue paper, for lining the inside before packing the cake
How to make the pie box:
- Print out your template on one of the 2 options: Either print on extra thick cardboard to make a stencil, or print directly on the paper you’ll be using to make the boxes.
- Trace the box outlines (in the case of the stencil) and cut out your boxes.
- Using the bone paper folder, draw a neat indent line where the paper needs to fold, and create your flaps.
- Place a small dollop of hot glue on each of the little paper flaps and stick it to the corresponding side of the box, holding it in place with your finger until it sets. Remember not to glue the flap of the lid! You should now have a three-dimensional box.
- Leave your boxes to dry completely overnight.
- Place a couple of squares of tissue paper inside each box for the pie or cake to “sit” on.
BONUS TIP: For an extra touch of cuteness, tie a set of wooden utensils to the lid of each box – ideal for a picnic style reception!
Original images and their credits available on Pinterest