Stick a Stencil on It! { DIY Tips }
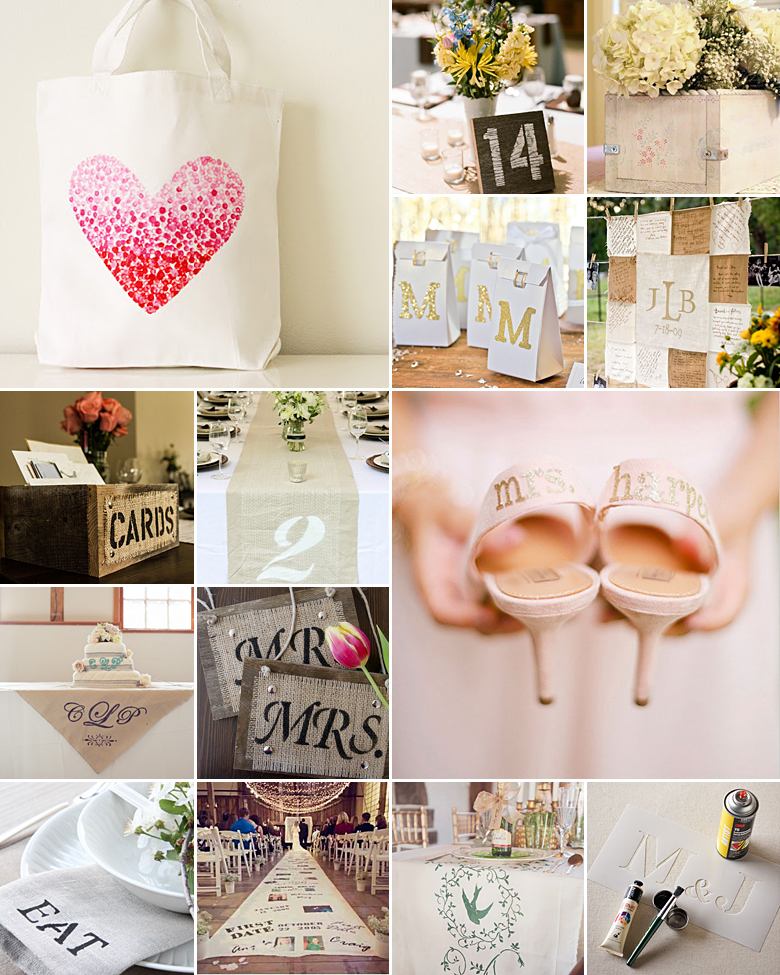
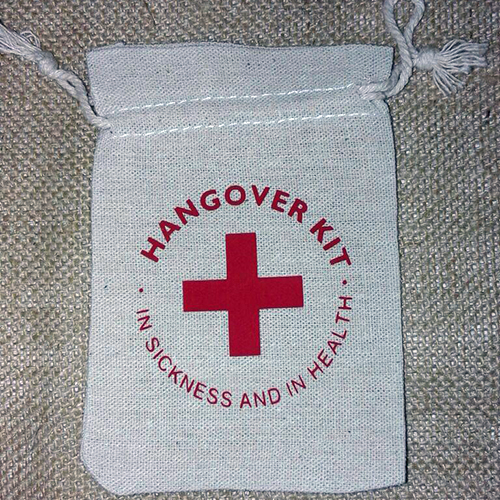
Stencils are a stunning yet low-cost way to personalise your wedding day down to the finest detail. Whether you apply monograms to the walls or create custom table cloths to go with your theme, it’s essential that you first master the technique to ensure the best and most beautiful results. Let’s look at a couple of basic tips to get you started:
- Instead of your normal paint brush, use professional stenciling brushes. Designed with short dense bristles, this brush ensures that the paint doesn’t bleed in under the stencil and spoil your design.
- If the budget’s a bit tight for specially designed tools, simply use a small sponge to apply the paint in dabs.
- Always draw your paint brush from the edge of the stencil inwards – this will keep the paint from slipping under the stencil.
- Wipe excess paint off your brush before starting the paint job – it’s best to apply the paint in multiple thin layers rather than thick coats, as it might seep through the paper stencil.
- If you have any old X-ray sheets lying around, use that as your homemade stencil.
- Be sure to allow the stencil to dry after every application – if not, the excess paint might wreck your design completely.
- Give the stencil a good wipe every so often to keep the paint from building up around the edges and spoiling your stunning pattern.
- To keep the stencil from moving around, tape it down on the surface that you’re working on – however if it’s a wall, be sure to use an adhesive tape that won’t peel the paint off the wall.
- Don’t just dive right in – plan ahead! Do the necessary measuring and mark out the centre of your stenciling surface. This will ultimately ensure that your pattern comes out as beautiful and complete as you envisioned.
- When using multiple stencils (for instance, to write a word or create a unique pattern), practice using the stencils together on a piece of paper, to get a feel for exactly where the stencils need to be placed in relation to one another.
- To get the best and prettiest results (with no bubbling or peeling), it’s essential that you do your research in terms of which paint to use for the surface in question.
Original images and their credits available on Pinterest