Moreish Shortbread { DIY Guest Favour }
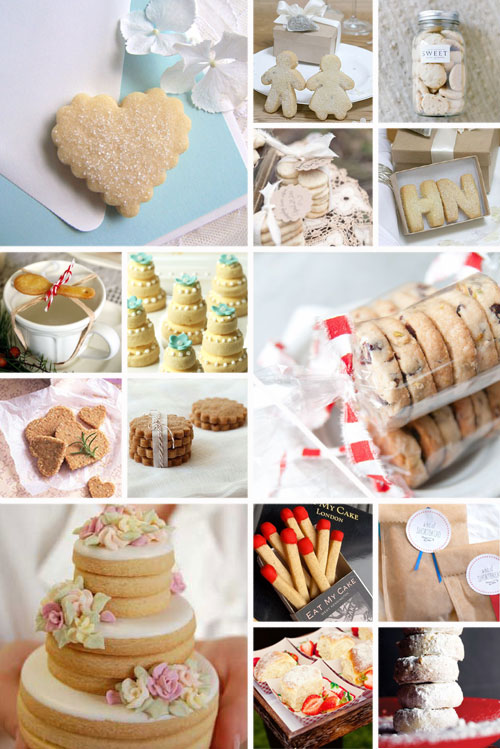
Shortbread certainly takes you back to sunshine mornings baking in Grandma’s kitchen, and its melt-in-your-mouth texture is something that most tend to appreciate. Aside from its popularity, shortbread can be made up to a month in advance and stored in an airtight container, making it the ideal DIY guest favour. But enough chatter – let’s get to the sweet stuff:
What you’ll need:
- 1 1/3 cups unsalted butter at room temperature
- 2/3 cup sugar
- 3/4 teaspoon salt
- 3/4 teaspoon pure vanilla essence
- 3 1/3 cups cake flour
How to make ‘em:
- Preheat the oven to 275 degrees Fahrenheit.
- Grease a large flat baking pan, and be sure to line the base with baking paper.
- In a mixing bowl, cream the butter and sugar together until light and fluffy – approximately 2 minutes, using an electric beater.
- Add the salt and vanilla essence, and beat/mix again until combined.
- Gradually add the flour, a cup at a time, to the mixture while still mixing/beating at a low speed until blended.
- Turn the dough out onto the prepared baking tray, and press it down lightly until the mixture is smoothed out to the desired thickness.
- Cut the dough into squares or fingers, using a sharp knife. Prick the surface with a fork or make decorative patterns.
- Bake for approximately 70 to 80 minutes, or until a pale golden colour. Do not over-bake.
- Once baked, allow the biscuits to cool slightly in the pan, before turning it out onto a wire rack. Carefully break the shortbread along the cut lines, or slice with a sharp knife if necessary.
Once you've mastered the basics, these mouth-watering shortbread biscuits can be dipped in chocolate, decorated with sprinkles, cut into shapes and flavoured with essence in just about any way – so start practicing and experimenting today!
Original images and their credits available on Pinterest
![Mrs [Surname] Wedding Year T-Shirt](https://www.celebration.co.za/shop/wp-content/uploads/2019/03/mrs-surname-weddingyear-t-shirt.jpg)